Friday, October 18, 2013

Sophia's Room is Done...again


It has been several months since I embarked revamping Sophia's room from her former nursery.  It was sweet before, but I wanted more color.  I made a new valance and roman shade, a quilt, pillows, and I replaced the closet doors with a curtain to match the valance.


Please ignore the wall decals to the left.  I have already informed Grandma that we don't want those for Christmas ever again.  There is just no way for them to look nice.


I made two 20x20" pillows with a vintage hankkerchief sewn onto the middle.


I added some crochet edging from thrift store pillowcase.


This room is teeny-tiny and just doesn't have room for two closet doors to take up square footage, so I replaced them with a simple curtain.  I put Sophia's doll house under her hanging dresses in the closet so she can still access them to play.  


Click here to see my Pinterest inspiration for this room.  
Many of the inspiration rooms had lots on the walls with a collage feel.  When I tried that it just felt busy.  Maybe my style is a little more simple/uncluttered?

Tuesday, August 6, 2013

Bathroom Remodel with Antique Buffet


Five Months!...but so worth it.  We started this bathroom remodel the first weekend in February.  As we were tearing up the floor we still hadn't made the decision about weather we were going to keep the old vanity or not.  It would not fit out the door, so we tore it into pieces and left it on the curb.  Never did I imagine it would take us two months to find a replacement that I could love and another two months to paint and do the plumbing!  And that's not even going into the five days with no toilet during tiling.  We only have one bathroom.  But just like labor, now that it is over, all is forgotten.  And I have my beautiful bathroom.


Before

Above is the original bathroom when we moved in seven years ago.  At the time we didn't have enough money to do more than remove the wallpaper and replace the light fixture.  Below is the bathroom as we have live with it the last seven years.  


What bothered me most about the bathroom was the old layers of wallpaper still visible behind the trim, not to mention the rusty metal vent and lovely vinyl flour.  

The Buffet


This is the buffet as we found it at an antique mall back in April.  I can now say I have been to every antique mall in the metro area, and I spent a lot of time on Craigslist, but I finally found this buffet that matched the measurements to fit the countertop.  We paid $220.  I felt that it needed to be stripped down in order to distress it and not have all those clown colors show through.  Stripping all those grooves took me over a month!  Then I spray painted it white.  Next I sanded all the edges so the details would stand out.  Followed by a brown glaze to soften the stark white and fill in the grooves.  And finally, I gave it a coat of polyacrylic to protect it from water.  Then it was time to hand it over to my husband to cut out the insides and do all the plumbing.  The last touch, lining the shelves and drawer bottom with wallpaper.  After five months of washing our hands and brushing teeth in the kitchen, we got our bathroom sink back the last week in June.


 After

We used a 20" square travertine tile.  We actually kept the counter top because it was in the right color tones and was the perfect size for the space.  We also kept the white ceramic tile in the shower because it is in good shape and it matched the trim.  We painted all the trim and doors white, and completely replaced the baseboards.  The wall color is Comfort Gray from Sherwinn Williams.


Just when you think you are done, you realize you have forgotten something.  I figured it would be no problem to find a mirror to replace the old one.  I liked to idea of two smaller mirrors instead of one large.  I couldn't find them in the distressed white I wanted.  These are actually black plastic.  I used the same paint as on the buffet to finish them.  Primer, white spray paint, brown glaze.      


Peas Please


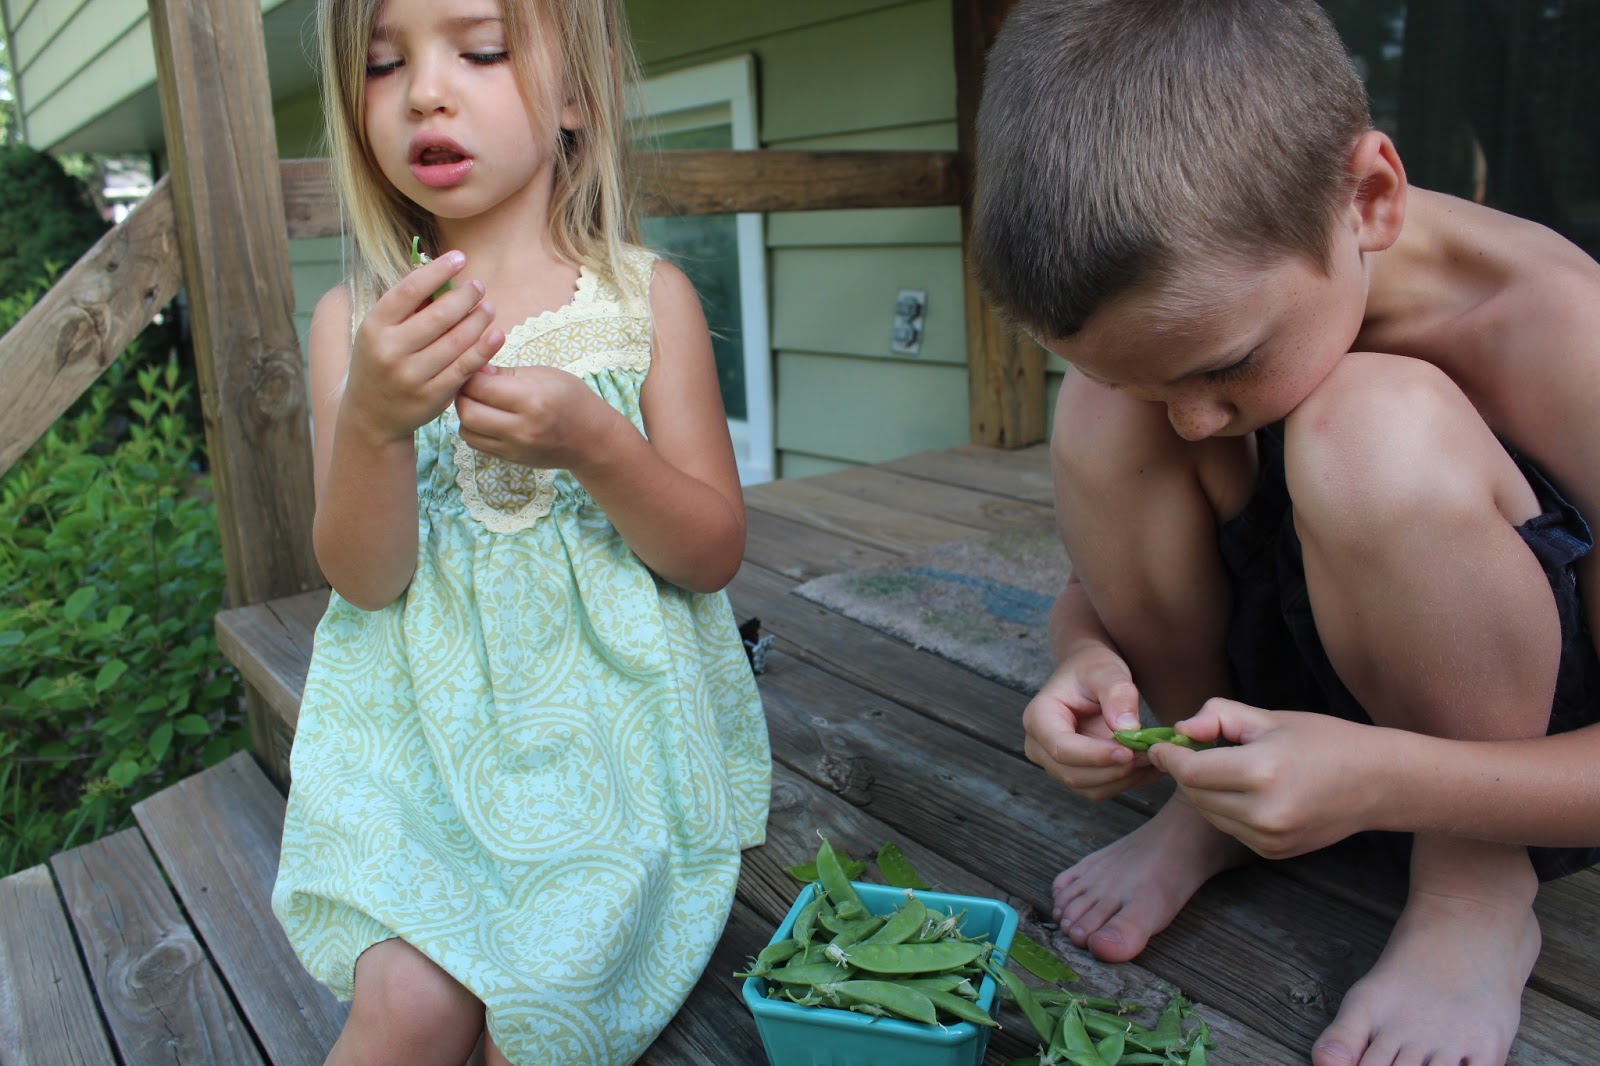
It is amazing how kids will eat things straight out of the garden that they would never touch from a store!  All three of my kids love to open up pea pods and gulp them down, although only one of them will eat them normally.  My youngest eats all of my cherry tomatoes before they ever get in the door.  She also eats basil, cilantro, oregano, and mint right out of the garden.  Just one or two leaves of each whenever we are out there watering, but I am convinced she going to have a very mature pallet as she grows older. We shall see.


If my kids look a little sleepy it is because we were out there before 7 am trying to beat the heat. 


Tuesday, July 23, 2013

Updating Sophia's Room


Recently I have painted all the trim upstairs white including all the bedrooms.  I ended up painting the walls in Sophia's room to be a lighter green.  Since we are finished with her crib bedding, it seemed like a good time to update her curtains and bedding. Click here to see her old room.  This is still a work in progress, but I have completed the roman shade and valance.  For the roman shade, I took apart an old one I had gotten from Target and used a green polka dot fabric that will also appear in her quilt.  My next project is a new quilt for her bed. 


Wednesday, July 17, 2013

T-shirt Dresses

+
 =


This weekend I went to a Goodwill with a friend and purchased 6 long sleeve T-shirts for a total of $18. Originally I was inspired to buy a few T-shirts to make a dress similar to this for my daughter....

(click on the picture to get to the original blog with a tutorial of this dress)

Well one thing led to another and before I knew it I had six T-shirts in my cart and my brain was whirling with ideas for dresses.  I went home and made two that night!  I think all the colors coordinate very well together and I plan to mix and match fabrics on different dresses.  Any left over sleeves will become leggings.  A complete fall wardrobe for $18!

Here are the T-shirts I purchased.

Dress #1


Here's how I did it with no pattern.


I choose a shirt from Sophia's closet that fits her nicely.  I laid it on top of the adult shirt where the necks of both shirts seemed to meet.  Then I traced around the shoulder and armhole seams with chalk. 


I cut out the front along the chalk lines.  Then cut out the back by laying the front down flat and cutting around the edges.  I did have to take the neck edge from the original back and sew it onto the newly cut back neck.  Next you sew up the side seams and shoulder seams.  


To cut the sleeves I used Sophia's original shirt again.  And traced the edges with chalk.


Sew up the seam and set it into the dress and Your done!  The nice part about this was I didn't have to hem the dress or the sleeves or finish the neck because they were finished already.  I hand sewed a scrap into the keyhole and sewed on a pocket from the original shirt.


Dress #2


+


=


Using the same technique as dress #1 I traced a shirt of Sophia's and cut out the front.  I wanted a racer back on the dress, so I improvised and ended up with a piece like this...


I had fun playing with the pieces on my dress form and I decided this would be a great ideas for adults, too!  I want one.


I borrowed a little embroidered flowers from a skirt I purchased for myself at the thrift store that was too big.  And then I sewed on some flowers from the same fabric I used on the armholes.  For the armholes I cut strips of T-shirt 5/8 inch wide and zigzagged them on.  I wanted that unfinished look with the edges curling.  


Not bad for one night's work.